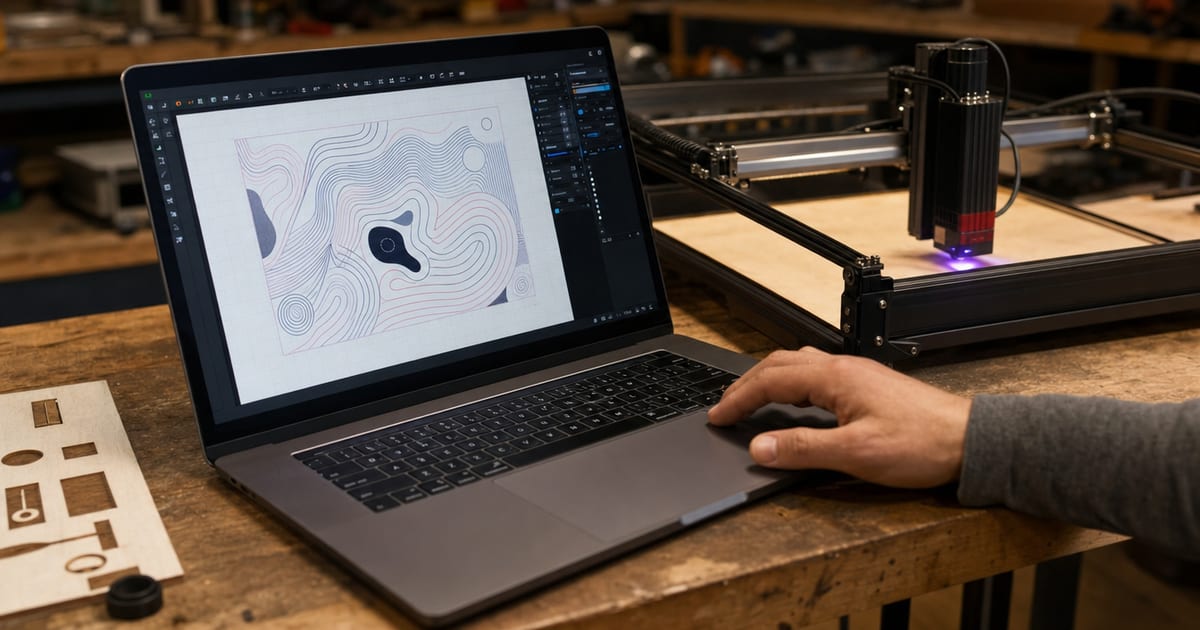
The software side of lasering scared me more than the machine did. I opened LightBurn for the first time, saw a wall of buttons and number fields, and nearly closed it again. A few weeks later it felt obvious. So here’s the version I wish I’d had on day one — the handful of concepts that make the whole thing click, in plain English. This is a beginner’s orientation, not a manual; LightBurn’s own docs go deep, and you should lean on them.
What LightBurn actually is
LightBurn is the design-and-control software a lot of makers run instead of the basic software bundled with their machine. You lay out your design in it — text, shapes, imported art — assign settings, and it sends the job to the laser. Most popular hobby diodes and CO2 machines are supported, but check yours is on the compatibility list before you buy a licence.
Layers are the key idea
The thing that unlocked LightBurn for me was understanding layers. Every object you draw gets assigned a coloured layer, and each layer carries its own settings — speed, power, and whether it’s a cut or an engrave. So one file can say “engrave this text dark, then cut this outline through.” You’re not setting the machine once; you’re telling each layer what to do.
Once that clicked, everything else made sense.
Speed and power — the two dials that matter most
Almost all of your results come down to two numbers per layer:
- Power — how hard the laser fires (a percentage of its output). More power = deeper, darker, more cutting.
- Speed — how fast the head moves. Slower = more energy into each spot = deeper/darker; faster = lighter.
The whole craft of “dialling in the cut” is finding the speed/power pair for your material and thickness. There’s no universal setting — wood, leather and acrylic all want different numbers, and so does each thickness. Which is exactly why the next point matters.
Line vs fill (cut vs engrave)
LightBurn lets each layer be:
- Line — the laser follows the outline of your shapes. This is how you cut, and how you do outline-style engraving.
- Fill (sometimes called scan) — the laser sweeps back and forth to fill an area. This is how you engrave solid areas and photos.
Getting these mixed up is the classic beginner moment — wondering why your solid logo came out as just an outline. Line cuts the edge; fill darkens the whole shape.
The two habits that saved me material
- Frame before you fire. LightBurn can trace the outline of where the job will run without lasering, so you can confirm the work is positioned on your material. I do this every single time. It has saved me countless ruined pieces.
- Test on scrap with a material test grid. LightBurn can generate a grid that runs lots of speed/power combinations at once on a scrap offcut, so you find the right setting in one go instead of guessing. This single feature is worth the learning curve on its own.
Getting your art into LightBurn
The other thing that confused me early was how to get a design in. LightBurn handles two broad kinds of art differently, and knowing which you’ve got saves a lot of frustration. Vector art — shapes and lines, usually from SVG or similar files — comes in as editable outlines you can resize cleanly and assign to cut or engrave layers. This is what you want for anything you’ll cut, because the laser needs a clean path to follow. Raster art — photos and other pixel images, like JPG or PNG — comes in as an image you engrave with fill/scan mode, and LightBurn has image-mode settings that control how it converts shades into laser dots. The rough rule: if you’re cutting it out, you want vector; if you’re engraving a picture, raster is fine. Text you type directly in LightBurn is already vector, which is why typed lettering cuts and engraves so cleanly.
Bundled software vs LightBurn
You don’t strictly need LightBurn — most machines ship with some free software that’ll get you making things. So why do so many makers pay for LightBurn? For me it came down to the test grid, the layer control and how much smoother the workflow is once you’re doing real projects. The bundled software is fine for a first weekend of “wow, it works,” but I found myself fighting it as soon as I wanted layered cut-and-engrave jobs or repeatable settings. LightBurn isn’t free, and it’s tied to a licence, so check your machine is supported and decide if the workflow is worth it to you. For anything beyond occasional play, most serious hobbyists I know end up there.
Don’t try to learn it all at once
You do not need to understand every panel before you make your first thing. Learn layers, learn speed/power, learn line vs fill, learn to frame, and run a test grid. That’s genuinely enough to start making good work. The rest you pick up as you need it.
LightBurn (and the rest of the setup software and accessories) is covered in the best laser engraver accessories and software guide.
This is a beginner’s orientation from my own experience, not official documentation. Software features and compatibility change — always check LightBurn’s own docs and your machine’s manufacturer guidance, and never run a job unattended.