How to Choose Your First Laser Engraver
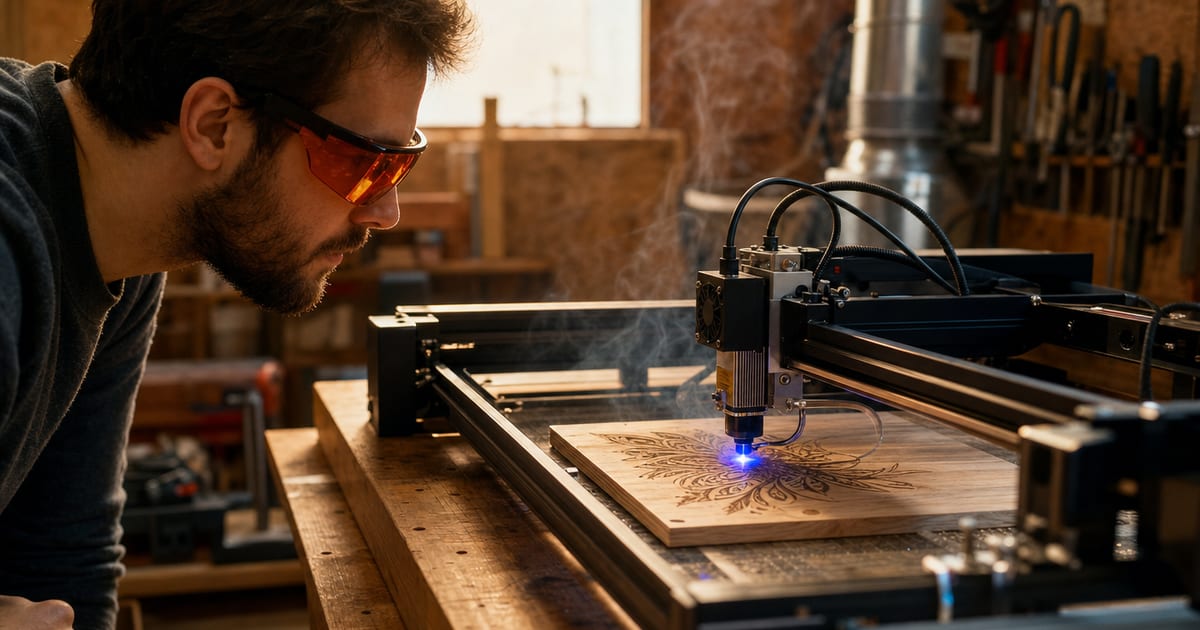
The right first laser gives you a clean cut on a machine that can actually do what you need. The wrong one gives you a smoky, melted disappointment and a burned roll of material. The difference is rarely the price — it's knowing a handful of things before you buy: optical watts versus input watts, diode versus CO2, what wattage cuts which material, how much work area you really need, and why air assist and ventilation aren't optional. This guide walks through all of it in order, the way I wish someone had walked me through it before I bought my first machine.
A quick note on how this site works. I'm Dom, the founder of Cut & Etch, and I run a diode and a desktop CO2 laser in a converted garage for a small craft side-line. The opinions here come from real production runs at my own bench; the product numbers come from manufacturer specs, published cut charts and physics — not from any lab test I'm pretending to have run. I keep those two things separate, and I'll never tell you I cut-tested a specific machine I didn't.
My first laser couldn't cut what I expected
I'll start with the mistake the whole site is built to stop you repeating, because it's the same one I made. When I bought my first laser I shopped on the biggest number I could find. The box said "40W," it was cheap, and I assumed that watt figure meant cutting power. I had a craft order that needed 6mm clear acrylic cut, so I set the machine up on the kitchen table and hit go.
It couldn't cut the acrylic. It could barely scorch the surface. What I didn't understand then is that a diode laser puts out a blue beam at around 450 nanometres, and clear acrylic is basically transparent at that wavelength — the beam passes straight through it. No amount of passes was ever going to cut that sheet, because the energy wasn't being absorbed where it needed to be. The same physics is why a diode reflects off bare shiny metal instead of marking it. The "40W" was an input/electrical figure too; the real optical output was a fraction of that. On top of all that I had no air assist and no ventilation, so the room filled with acrylic fumes and I scorched the one sheet I did manage to mark. That weekend taught me the three lessons everything here is built on: optical watts are not input watts, diode and CO2 cut completely different material sets, and air assist plus ventilation are not optional.
Optical watts vs input watts: the number that actually matters
Watt inflation is the single most common way makers get sold the wrong machine, so this is worth getting straight before anything else. There are two completely different "wattage" numbers in laser marketing, and only one of them tells you what the machine can do.
Optical wattage is the laser power actually delivered to the work — the energy that does the cutting and engraving. For diode lasers it's typically quoted in tiers: 5W, 10W, 20W and 40W of optical output. This is the number that matters, and it's the number a good spec sheet states plainly.
Input or electrical wattage is how much power the module draws from the wall. It is always a much bigger number, and it tells you almost nothing about cutting ability. A module sold as "40W" on input watts may put out only 5W optical. When a listing leads with a giant watt figure and buries or omits the optical rating, treat that as a red flag and dig for the real number. If you only remember one thing from this guide, remember to compare optical watts — and the diode laser wattage tiers explained page breaks down what each optical tier can and can't do.
Diode vs CO2 in plain English
The two laser types most makers choose between work at completely different wavelengths, and that difference decides what each one can cut. It is the most important decision you'll make, so here it is without the jargon.
Diode lasers (~450nm)
Diodes are the affordable, open-frame entry machine — the laser most people buy first. They engrave wood, leather, anodised and coated metal, slate and painted surfaces well, and they cut thin wood, plywood, paper, felt, cork and dark or opaque acrylic. They are simpler, cheaper and easy to widen for larger work. What they cannot do is cut clear acrylic (the beam passes through it) or mark bare metal (the beam reflects). For a maker doing engraved signs, leather goods and tumblers, a mid-wattage diode handles most of the day-to-day. The diode laser engravers explained hub goes deeper on the tiers, work area and the watt-inflation trap.
CO2 lasers (~10.6µm)
A CO2 laser emits in the far infrared at around 10.6 micrometres, a wavelength most materials absorb well. That's why CO2 is the cutter: it slices clear and coloured acrylic, thick wood, leather, paper, rubber and fabric cleanly, and it engraves glass and slate that a diode can only frost lightly. The trade-offs are cost, size, the need for cooling and proper ducting, and that it still won't cut bare metal (that's fiber-laser territory). If your work depends on cutting thick acrylic or hardwood, the upgrade is a CO2 — see the desktop CO2 laser cutters hub for wattage, bed size and the enclosed-versus-open-frame divide.
Still genuinely unsure which type fits your projects? Feed your materials, thicknesses and budget into the diode-vs-CO2 chooser and it'll point you at a type with the reasoning spelled out.
A laser engraver for wood: what wattage cuts which thickness
Wood is the material most makers come to a laser for, so it's worth its own section — and cutting wood is where the optical-wattage number stops being abstract and starts being the whole game. Engraving wood needs very little power: even a 5W diode burns a clean, dark mark into pine or birch ply at speed. Cutting all the way through is a different ask, and it scales hard with wattage.
As a rough field guide: a 5W optical diode mostly engraves and only cuts very thin wood and card. A 10W diode cuts thin plywood in a few passes. A 20W diode cuts roughly 6mm plywood in multiple passes with air assist. A 40W diode or a 40W-plus CO2 cuts thicker hardwood, with the CO2 giving cleaner, less-scorched edges in fewer passes because of how well wood absorbs that wavelength. Hardwoods, oily woods and thicker stock all push you up a tier. These are starting points, not promises — exact results depend on the wood, the air assist, the speed and the focus — which is exactly why we built a calculator instead of a single chart. The by-material capability guide covers wood alongside acrylic, leather, tumblers, glass and slate, and the best laser engravers for wood guide compares specific machines for the job.
How much work area do you actually need?
Bed size is where it's easy to overspend or underspend, so size it to what you make rather than to the spec-sheet headline. Small signs, ornaments, coasters and leather tags fit comfortably on a 300–400mm bed, which covers a lot of craft work. If you make larger panels, trays, cutting boards or run big batch jobs, you'll want more room — and on an open-frame diode you can often add an extension kit to widen the working area later. Enclosed machines have a fixed bed you can't grow, so buy the size you'll need.
Two specs people forget: the Z-height (the vertical clearance) determines whether you can engrave thick stock or tumblers at all, and rotary support determines whether you can wrap engraving around round objects like cups and bottles. If tumblers are on your list, check both before you buy — the best diode laser engravers guide flags which machines support a rotary and how much usable area each one really gives you.
The full maker cart: the machine is half the setup
The single biggest budgeting mistake is treating the laser as the whole purchase. It isn't. A usable, safe setup is a small stack of gear, and skipping the wrong piece either ruins your cuts or risks your health. Here's the cart in roughly the order it matters:
- Air assist — a steady stream of air across the cut that blows away smoke and suppresses flare-ups. It is the difference between a clean edge and a scorched, sooty one, and between a small flame and a fire. Essential, not optional.
- Fume extraction / ventilation — an inline fan or extractor ducted outside. Laser smoke from acrylic, leather and MDF is harmful to breathe. This is the piece most people underbuy, and the one that matters most for your lungs.
- Enclosure — contains fumes, blocks stray laser light and cuts noise. It makes a garage or spare room genuinely usable and is what lets the extraction actually work.
- Honeycomb bed — supports the work, lets the beam exit cleanly underneath and protects the surface below from cut-through. Cheap and worth it from the start.
- Rotary attachment — only if you engrave tumblers, cups or bottles, but essential then.
- Correctly-rated laser glasses — matched to your machine's wavelength and optical density. Non-negotiable, and ordinary tinted goggles don't count.
- Control software — most makers move to LightBurn for its layout, control and material-setting tools; confirm your machine is compatible first.
That whole list — what's safety-critical versus nice-to-have, and what to buy first — lives in the laser safety and accessories hub, and the best laser engraver accessories guide compares specific enclosures, air-assist kits, fume extractors and beds.
How to choose, step by step
Pulling it together, here's the order I'd work through if I were buying again from scratch. Follow it and you'll skip the mistake that cost me a craft order and a roll of acrylic.
- Start from your materials, not the price. List the materials and thicknesses you actually want to make things from. That list decides whether you need a diode, a CO2, or both — far more than your budget does.
- Read the optical wattage, ignore the input watts. Find the optical (laser-output) wattage in the spec sheet, not the inflated input/electrical number on the box. Optical watts are what cut and engrave.
- Match wattage to the thickest thing you will cut. Higher optical wattage cuts thicker material in fewer passes. Size the machine to the thickest, hardest material on your list — engraving needs far less power than cutting.
- Size the work area to your projects. Pick a bed large enough for your typical pieces, check the Z-height for thick stock or tumblers, and confirm rotary support if you engrave round objects.
- Budget the full cart from day one. Add air assist, an enclosure or ventilation ducted outside, a honeycomb bed, correctly-rated laser glasses and control software to the budget — the machine alone is half the setup.
- Set up safe before the first cut. Install fume extraction ducted outside, fit air assist, wear wavelength-rated glasses, keep a fire watch and never run the laser unattended. Follow the manufacturer instructions for your machine.
The rookie mistakes to skip
A few of these I made myself; the rest I've watched other makers make at my local makerspace, where I'm usually the one people message with "will my machine cut this?" Avoid these and you're ahead of most first-timers:
- Buying a 5W to cut 6mm acrylic. The classic. Wrong type and wrong wattage at once — a diode can't cut clear acrylic at any power, and a low-wattage diode can barely cut it even when it's opaque. Decide the type by material first.
- Shopping on the input-watt number. The big box figure isn't cutting power. Find the optical rating or walk away.
- Skimping on ventilation. Bad ventilation ruins more first projects — and more lungs — than bad optics do. Duct it outside before the first real job.
- Running with no air assist. You'll fight scorching and flare-ups on every cut and blame the machine.
- Leaving it running unattended. A laser is an open flame source. Never walk away from a running machine.
Laser safety, handled straight
I won't soften any of that, because there's nothing to soften. Eye protection has to match the wavelength — diode and CO2 need different glasses, and a pair that protects against one may do nothing against the other. Fume extraction isn't a "for big jobs only" thing; the smoke is harmful at any scale. And the fire risk is real enough that a fire watch and an attended machine are simply part of running a laser. Follow the instructions that came with your specific machine over anything general you read online, including this page.
A note from the bench
Lasers are part of a bigger maker world, and a lot of the people I share a makerspace with run more than one craft. If you also paint tabletop minis or terrain, the folks over at our sister site for the miniature-painting side of the maker bench cover that hobby the same spec-honest way we cover lasers. Different craft, same idea: figure out what the gear can actually do before you buy it, then dial it in.
Frequently asked questions
Should I get a diode or a CO2 laser?
It depends on what you want to cut. A diode laser (~450nm) is the affordable entry machine: great for engraving wood, leather and coated metal, and cutting thin wood and dark acrylic. A CO2 laser (~10.6µm) cuts thick acrylic, wood and leather cleanly, and engraves glass and slate. Diodes pass straight through clear acrylic and reflect off bare metal, so they cannot cut either. Pick the type around your materials, not the price.
What is the optical-vs-input watt trap?
Many diode lasers are advertised by their input or electrical wattage — a big number on the box — which is not the cutting power. What matters is the optical wattage actually delivered to the work, typically 5W, 10W, 20W or 40W for diodes. A "40W" machine sold on input watts may only have 5W optical. Always compare optical watts.
What wattage do I need to cut wood?
Engraving wood needs very little power; cutting needs much more. A 5W optical diode mostly engraves and cuts only very thin wood; a 20W cuts plywood up to roughly 6mm in passes; a 40W diode or a 40W+ CO2 cuts thicker hardwood, with CO2 giving cleaner edges in one pass. Use the material-cut calculator to match wattage to thickness.
Do I need air assist and ventilation?
Yes — treat both as essential, not optional. Air assist blows smoke and flame off the cut for cleaner edges and far less scorching. Fume extraction or an exhaust fan ducted outside is non-negotiable: laser smoke from acrylic, leather and MDF is harmful to breathe. Never cut materials that release toxic gas, such as PVC or vinyl.
How big a work area do I actually need?
Match it to what you make. Small signs, ornaments and leather tags fit a 300–400mm bed; larger panels, trays and batch runs want more. Open-frame diodes can often be widened; enclosed machines have a fixed bed. Check the Z-height too if you want to engrave tumblers or thick stock, and whether a rotary attachment is supported.
What safety gear does a laser need?
Wear laser safety glasses rated for your machine’s specific wavelength and optical density — ordinary tinted goggles do not protect your eyes. Run proper fume extraction or ventilation ducted outside. Never cut materials that release toxic gas (PVC/vinyl). Never leave a running laser unattended — it is a fire risk. When in doubt, follow your machine’s manufacturer instructions.
Where to go next
The four silos, each starting from a maker-first hub.